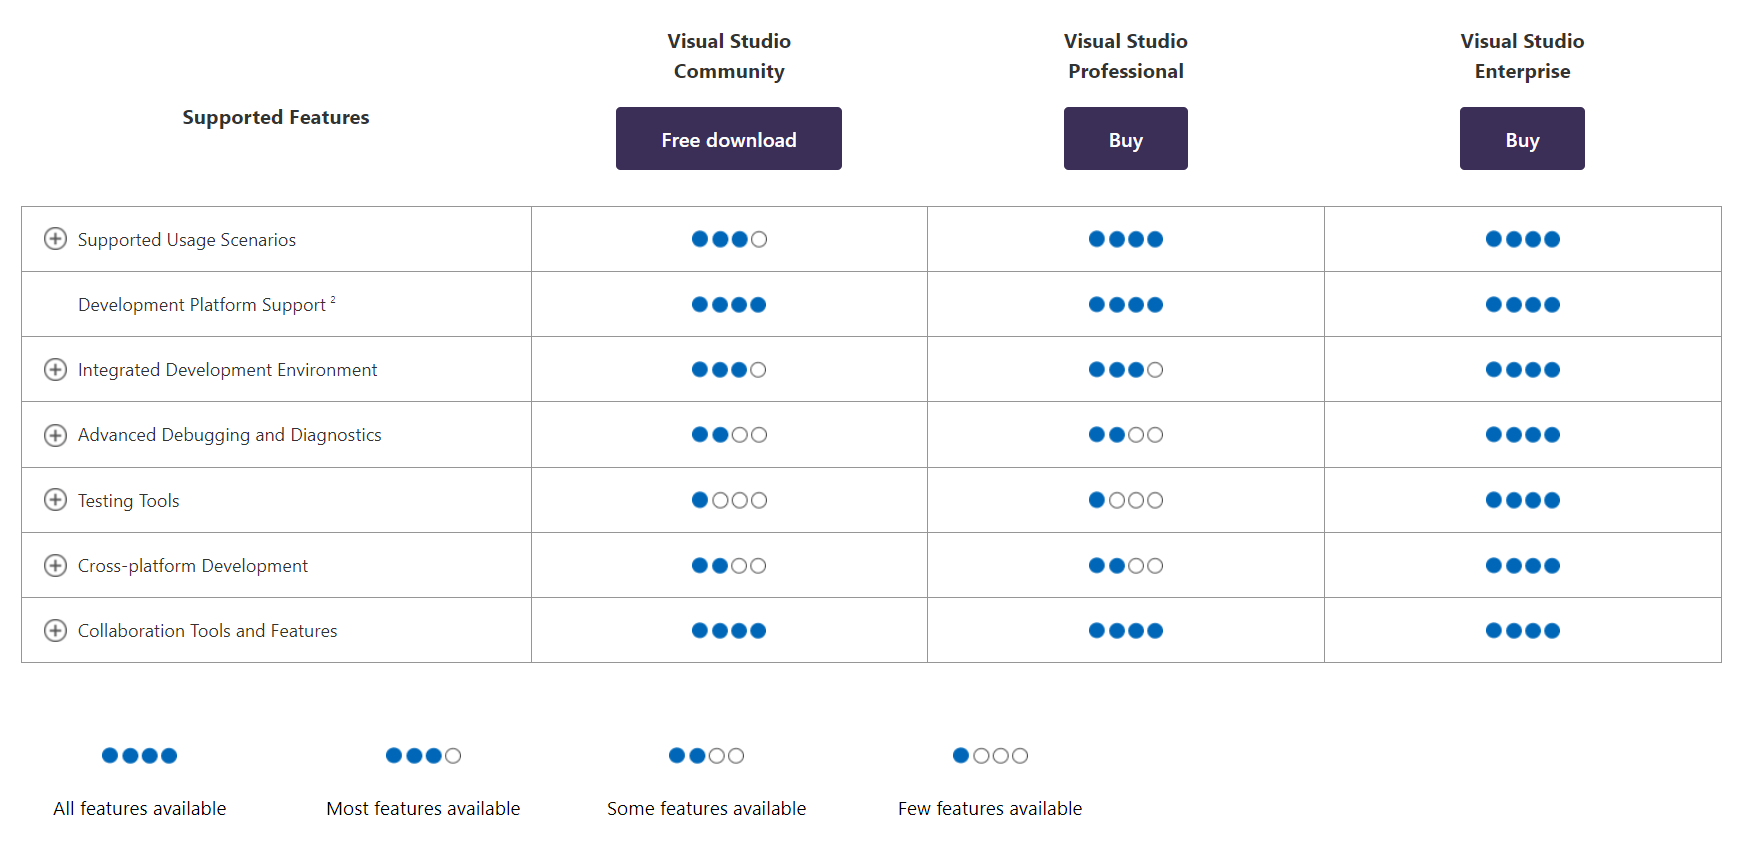
3. Select the edition of your choice. If you are unsure of which edition is right for you, see this Visual Studio Editions page. For the free edition, select Visual Studio Community.
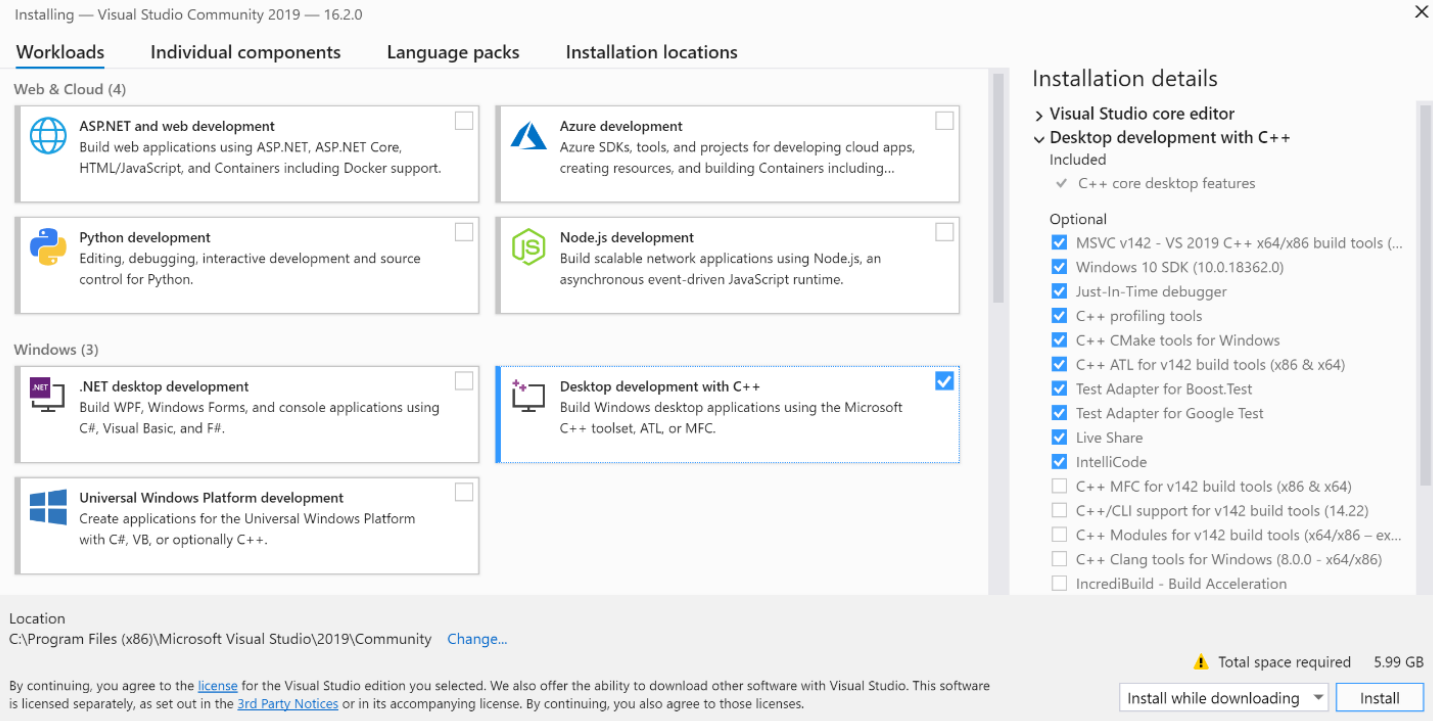
4. Begin running the installer, and follow the on-screen steps until prompted to select installation items. When prompted, select “Desktop development with C++”.
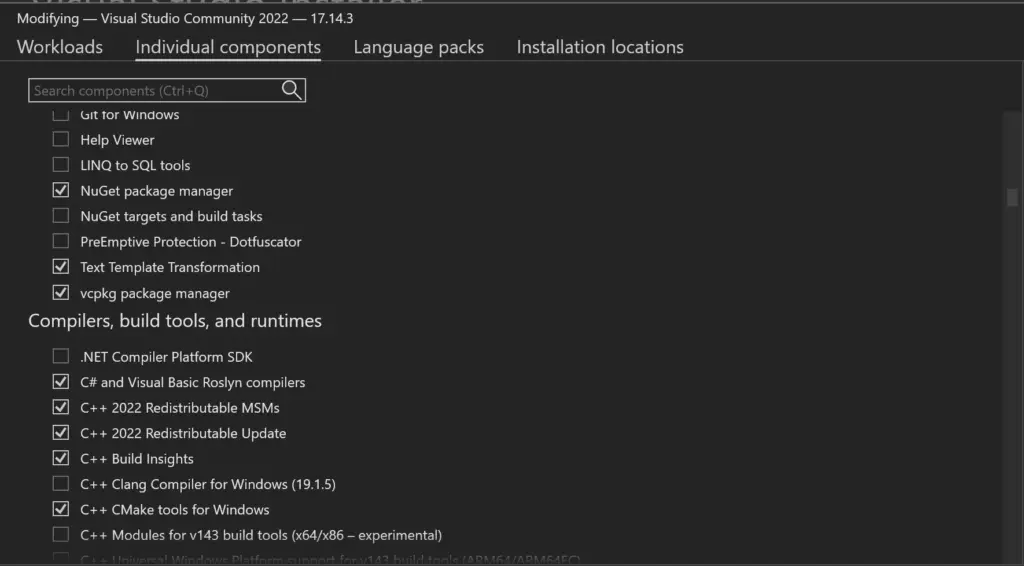
5. Under Individual Components Select “C++ [year] Redistributable MSMs
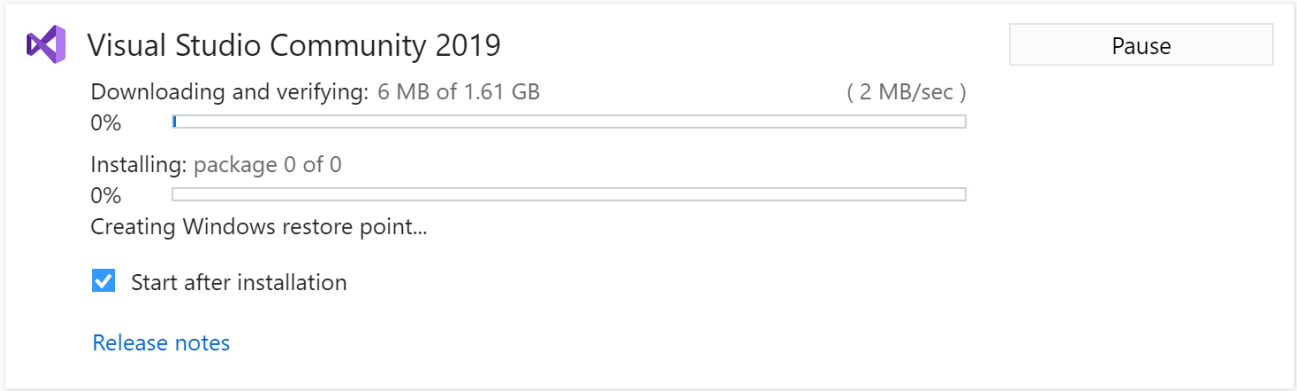
6. Select “Install” in the bottom right corner to begin the installation. Once the installation is complete, restart your PC.
Qt 6.5.x
The NDEVR API uses Qt as its base UI toolset. This project is built and tested primarily using Qt 6.5.x. The binaries are created using these headers and libraries, making this particular version required to guarantee a successful build.
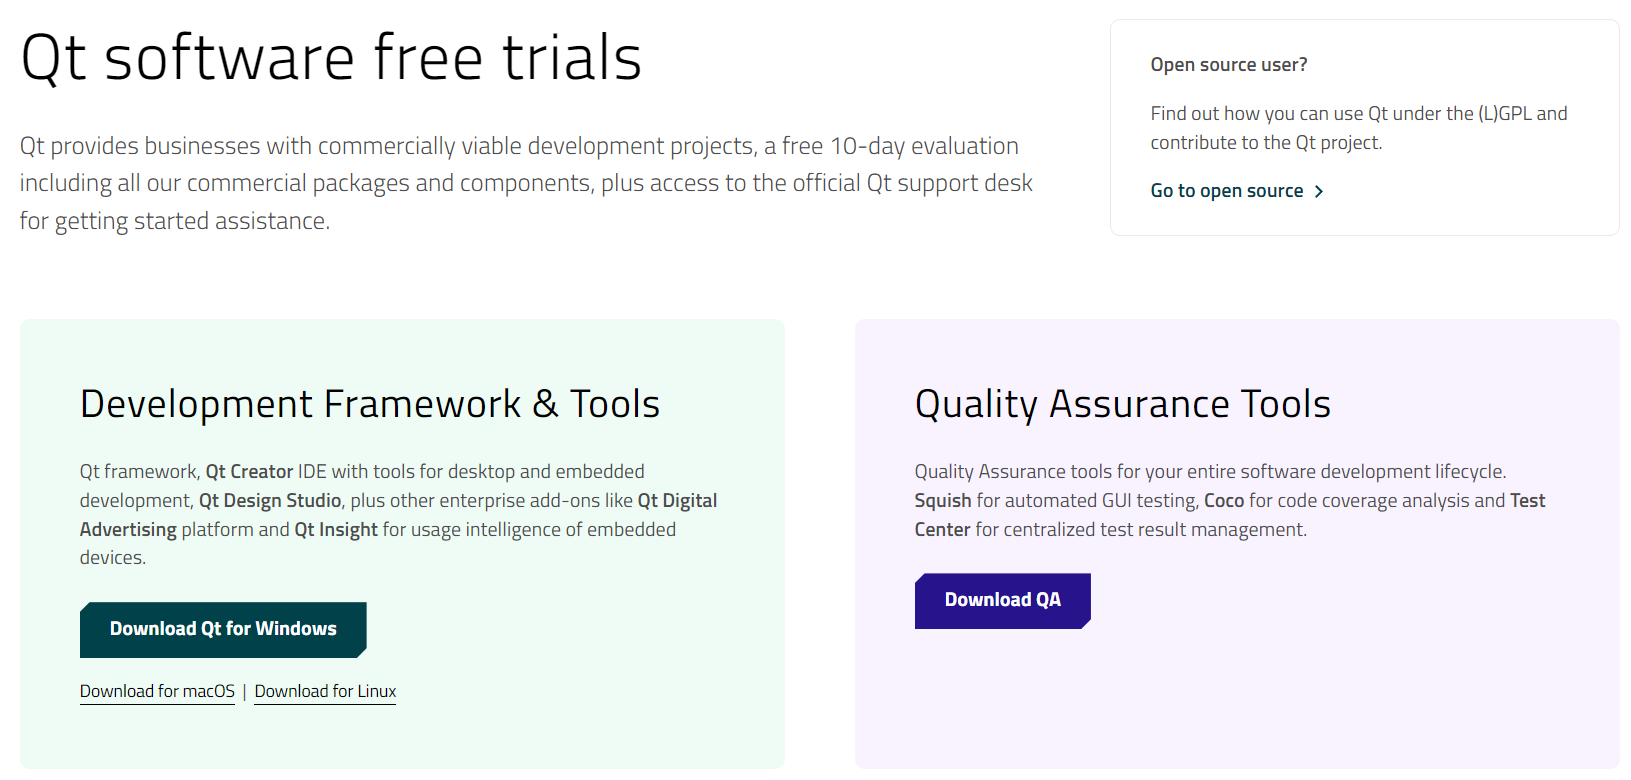
1. Go to this Qt Software page and select a Qt Version to download. Unless you intend to pay for Qt services, select the “Go to open source” option in the top right corner of the page.
2. If prompted, choose “Download” to download the Qt Unified Online installer.
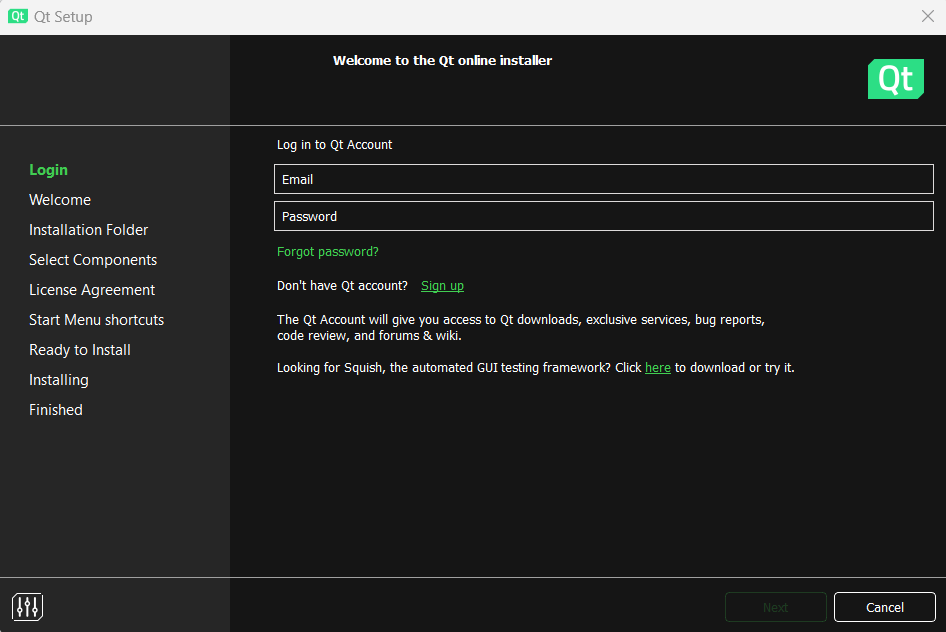
3. Run the installer and log in, or create your Qt account.
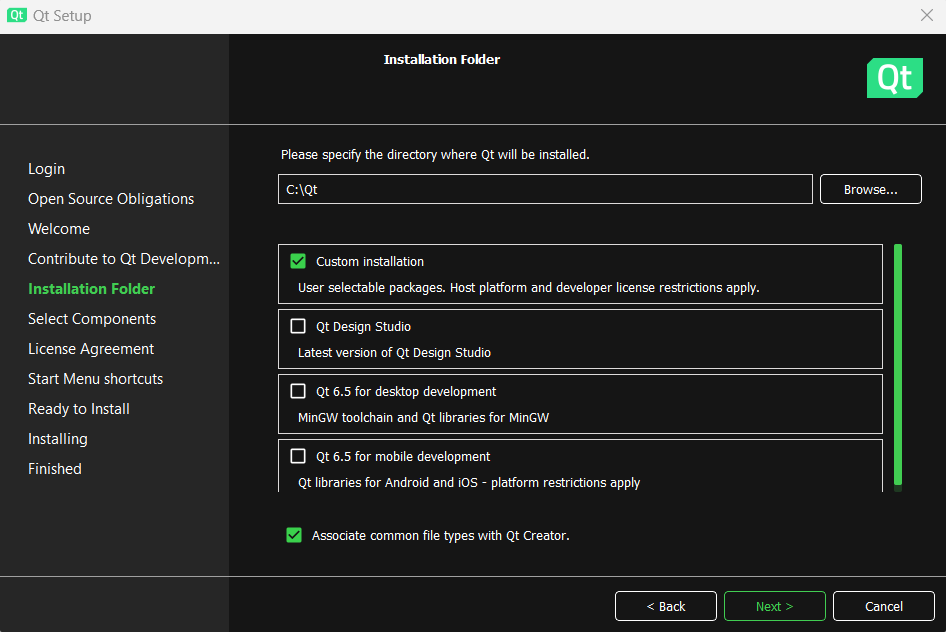
4. Proceed through the dialogs until prompted to “Installation Folder”. Select Custom Installation and specify an appropriate folder.
You may use any folder, but it is recommended to use C:\Source\NDEVR\ if you have no preferences, as this will be the path referenced in this guide.
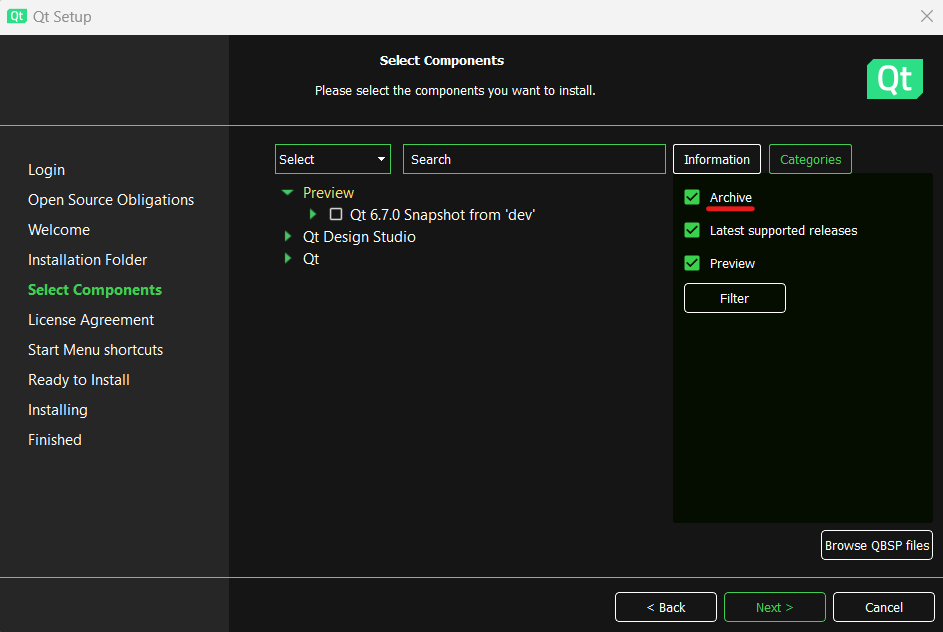
5. If you want to use a version other than the 6.5 long term support, when prompted to “Select Components”, choose “Archive” from the right side. Then, click the “Filter” button and wait. You will now have more versions of Qt available.
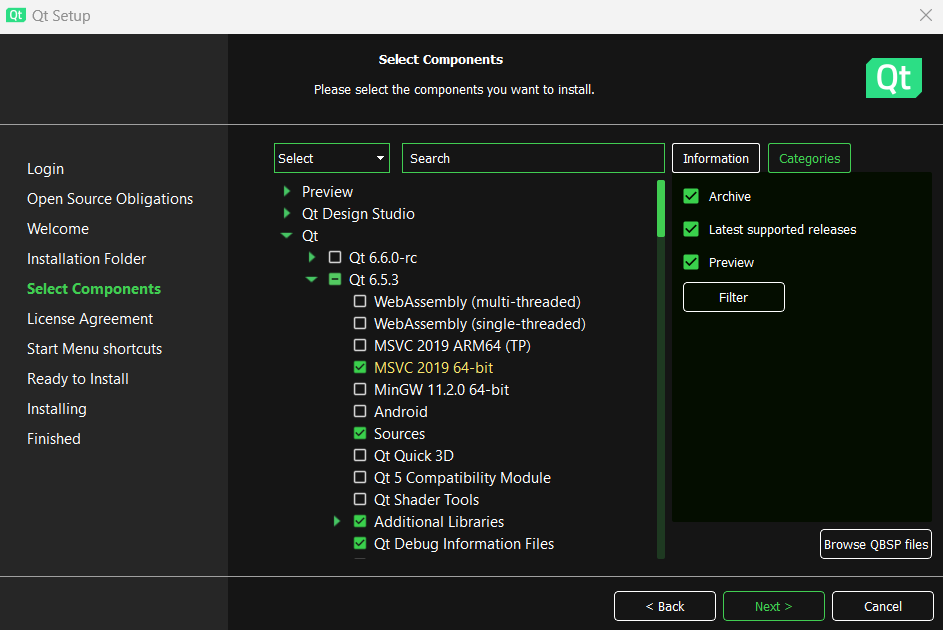
6. Dropdown Qt -> Qt 6.5.x. and select “MSVC 2019 64-bit”, “Sources”, “Additional Libraries”, and “Qt Debug Information Files”. Do NOT press the “Next” button yet.
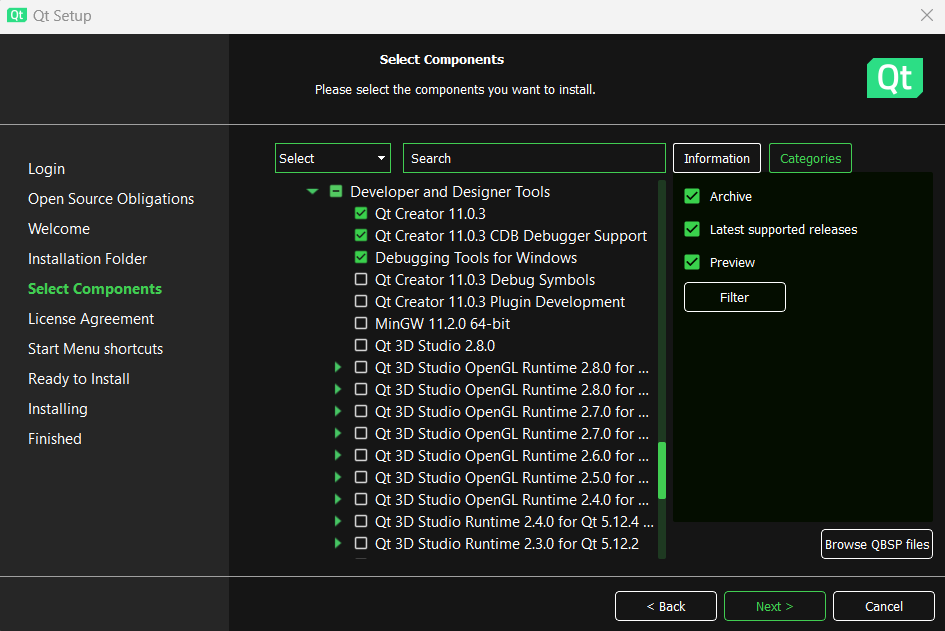
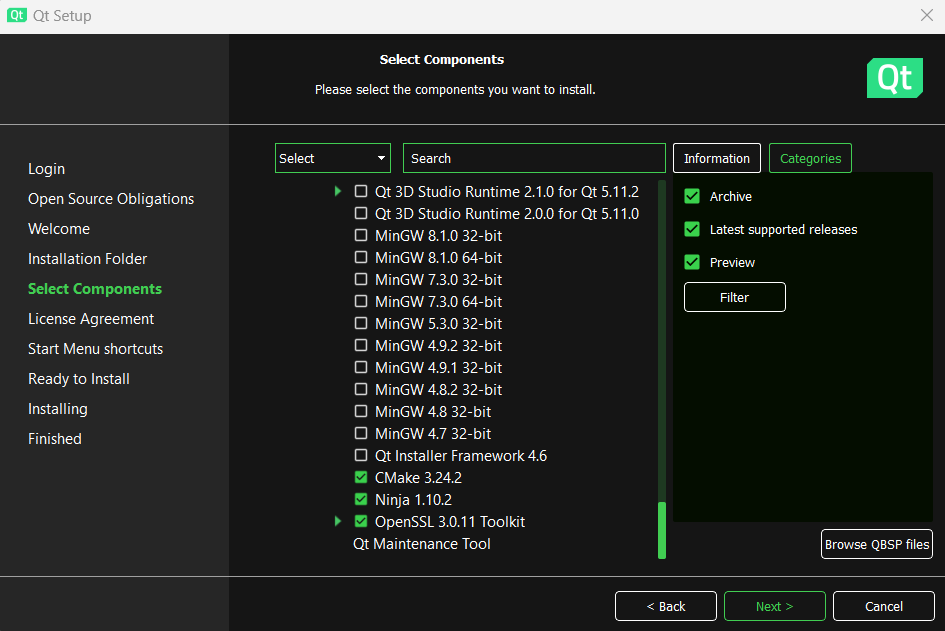
7. Lastly, scroll to the bottom of the list and dropdown Developer and Designer Tools. Select the latest edition of the “OpenSSL Toolkit”.
You do not need to select any other options; the images below are taken for comparison purposes.
Now, press the “Next” button. Continue with the rest of the installation. Note the installation may take several hours or appear to be frozen; nevertheless, it will complete.
Qt Visual Studio Tools
In order to ensure ease of use within the Visual Studio environment, it is highly recommended that you download Qt Tools for Visual Studio. Specific instructions in this manual may assume you have this tool.
Be sure Visual Studio is not running prior to installing.
Run the installer to add the extension.
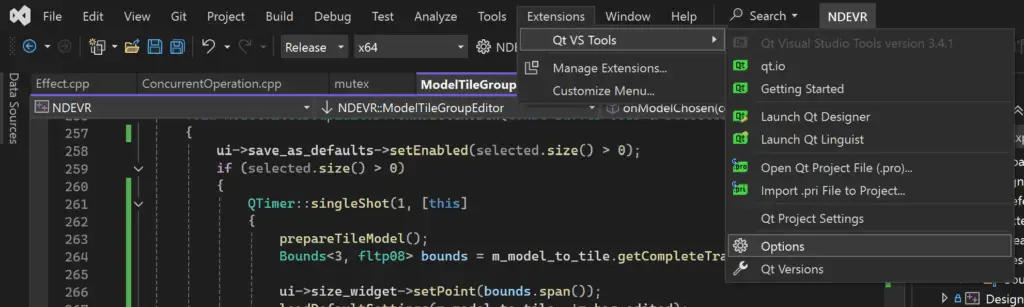
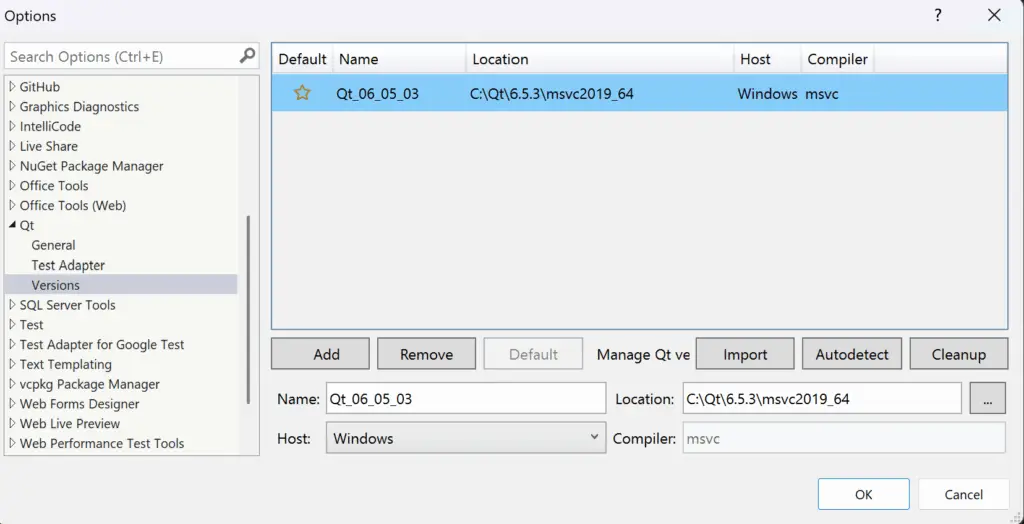
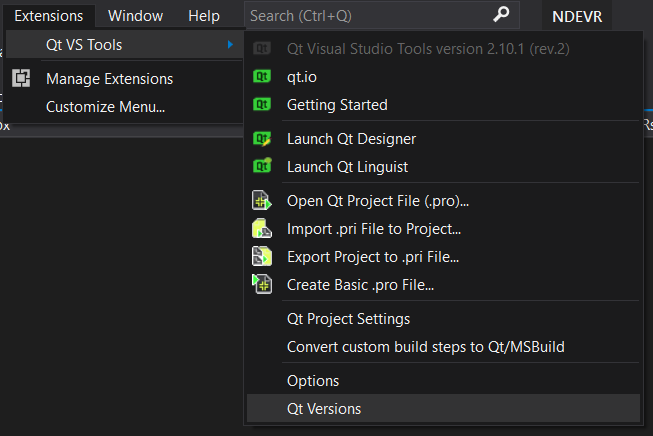
Inside of Visual Studio select Extensions/Qt VS Tools/Qt Versions from the top ribbon.
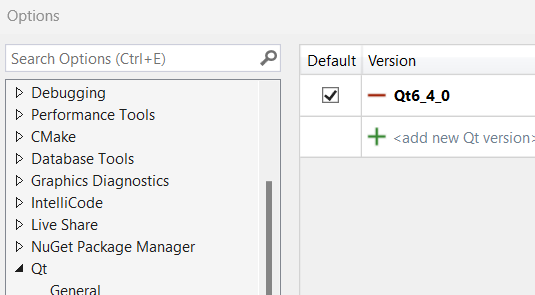
5. Select “Add”, fill in a unique version name, and the location for the Qt Version installed (msvc2019).
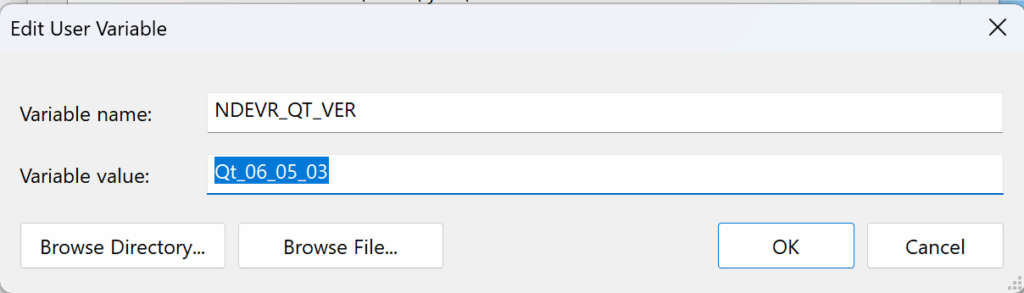
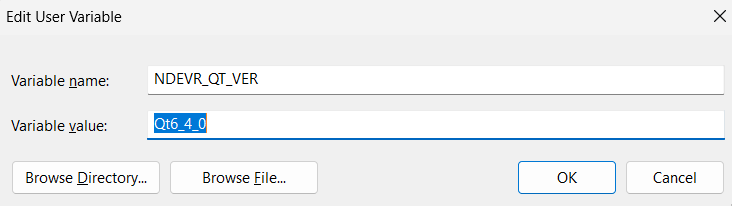
6. Create The environmental variable labeled NDEVR_QT_VER and set the value to the name you selected for the Qt Version in step 5.
WiX Toolset for Visual Studio 2022
NDEVR Applications built with Visual Studio use WiX to manage the creation of installer MSI files. WiX allows for the customization of MSI installation files and bootstrappers.
Microsoft Installer (MSI) is ideal for developers, focusing on improved deployment and management, particularly for enterprise environments. MSI files offer reliable installation with automatic rollback capabilities, flexibility through custom settings, and compatibility with tools like Active Directory for streamlined, centralized control over installations. These advantages make MSI an ideal choice for efficient, scalable software deployments in larger organizational structures.
Note this is optional for those wishing to directly build the Vulkan Render Engine from source. Vulkan SDK is a high-performance 3D graphical application offering efficiency and convenience to NDEVR’s toolset and the primary graphics engine for the desktop application build.
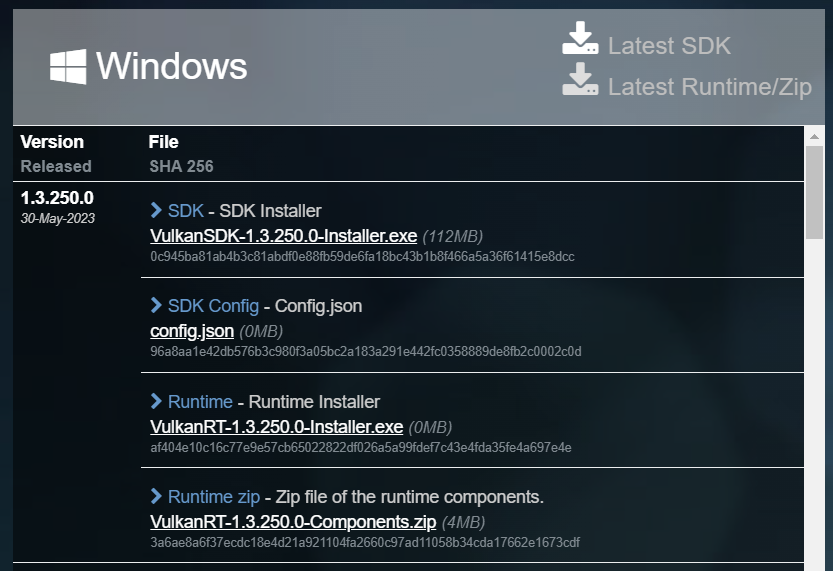
1. Go to this Vulkan page and download the latest SDK Installer for Vulkan SDK.
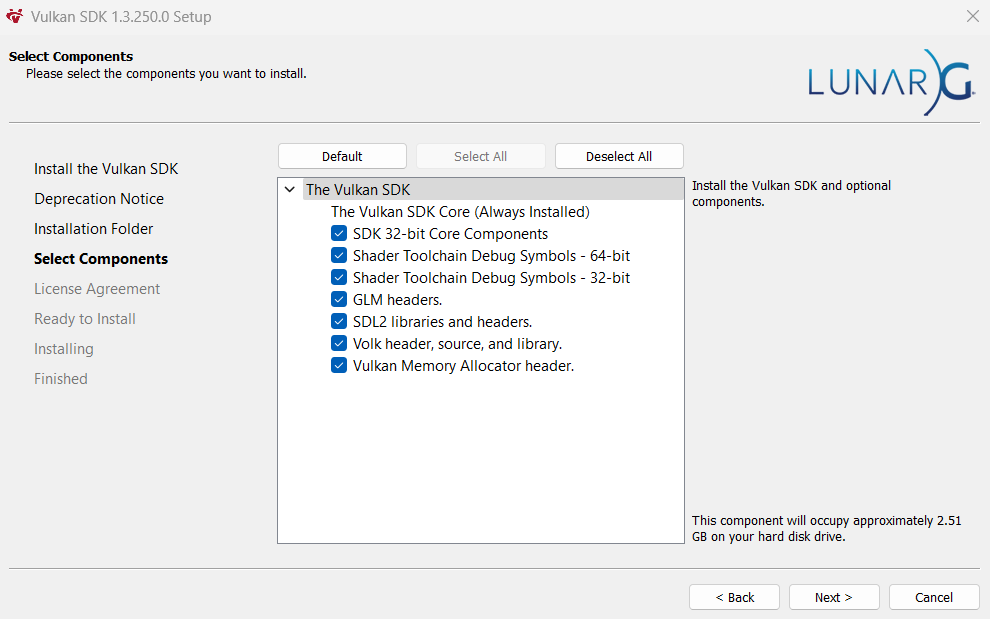
2. Follow the installation procedure. At Select Components, be sure to select ALL of the components available.
3. Complete the installation. Vulkan SDK will be pathed properly in the next section.
Setting Vulkan Environmental Variable
1. Close Visual Studio, search your device for “Edit environment variables for your account”, and open the program.
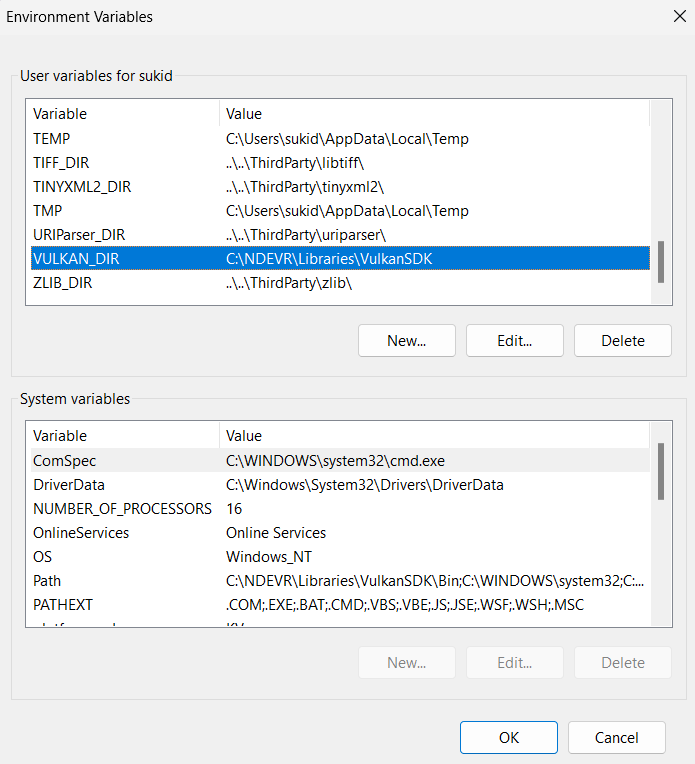
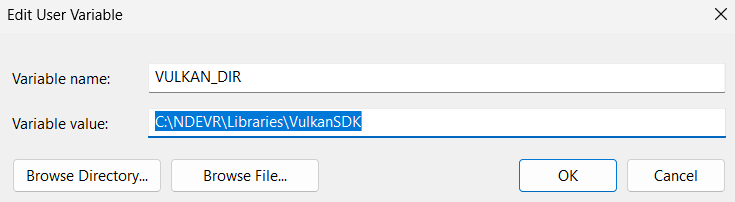
2. Under “User variables for [USER]”, scroll down to find “VULKAN_DIR” and click “Edit”.
3. Replace the “Variable value” with the same directory you assigned during the Vulkan SDK intsallation.
4. Press “OK” and return to the “Environment variables” page.
NDEVR Software Links and Credentials
Any specific source code should be supplied by NDEVR to assist you through the installation procedure below. If you do not have this information, please contact support@ndevr.org.
This section will cover setting up user credentials and cloning any needed Source Code. It is assumed that all prior steps have been completed; specifically, the installation of Visual Studio 2022
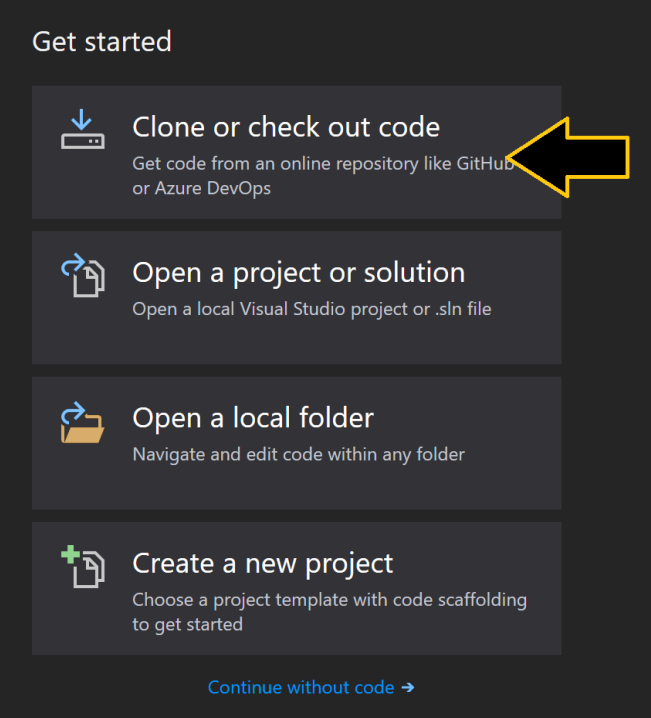
1. Open Visual Studio 2022 and, in the initial startup, choose to “clone or check out code”.
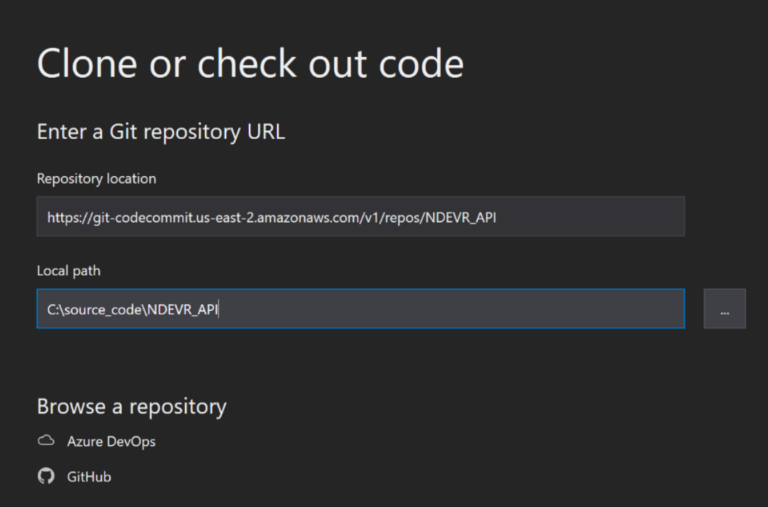
2. Enter the NDEVR Source Address (also given under “NDEVR Software Links and Credentials” toward the top of this page) into the Repository Location.
3. Choose a Local Path.
You may use any folder, but we generally recommend keeping source code in a folder on the C:\ drive.
4. Click “Clone” to download the source code from the repository.
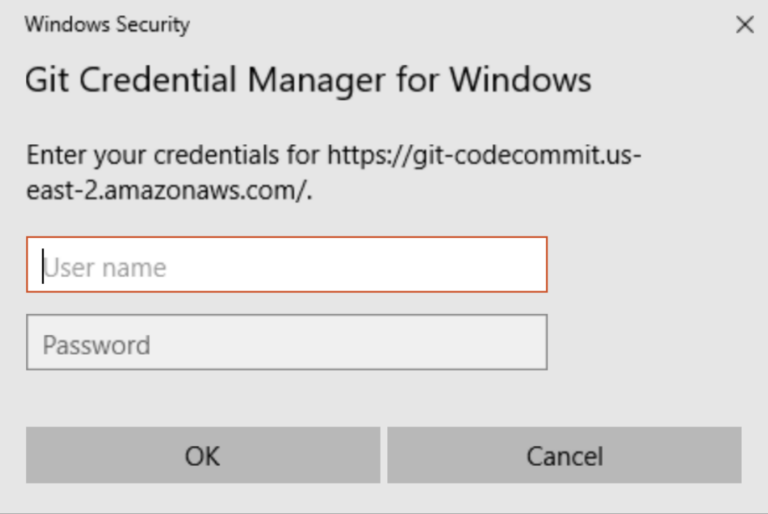
5. When prompted, enter your specific Git credentials (provided by NDEVR).
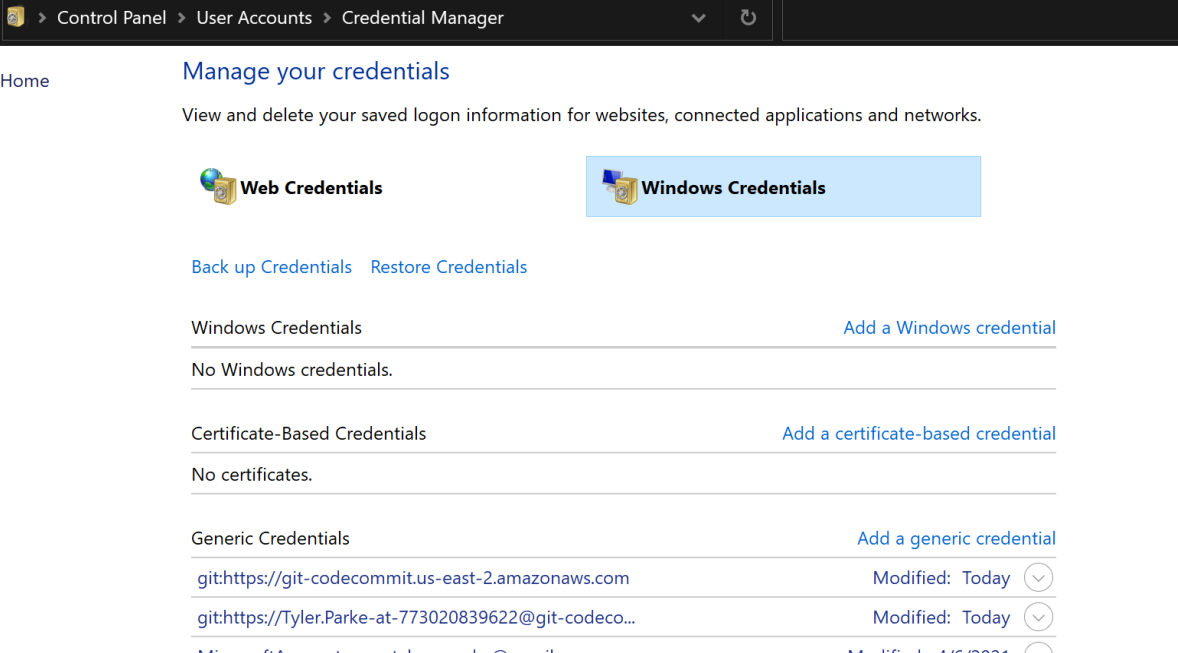
If you are not prompted for Git credentials, you may need to clear old credentials from Windows. Open Windows Credential manager to find and remove or modify relevant Git credentials. Afterward, repeat the above steps.
6. Code will begin downloading from the repository.
Note that this is an intensive process and may take over an hour.
You should see the files below in your chosen local path, and the same files in the Solution Explorer the next time you open Visual Studio.
7. Close Visual Studio and navigate to your chosen folder where the API is stored, also shown above.
8. Read the “ReadMe.txt” file and follow all instructions to complete setting up the environmental variables for the NDEVR API environment.
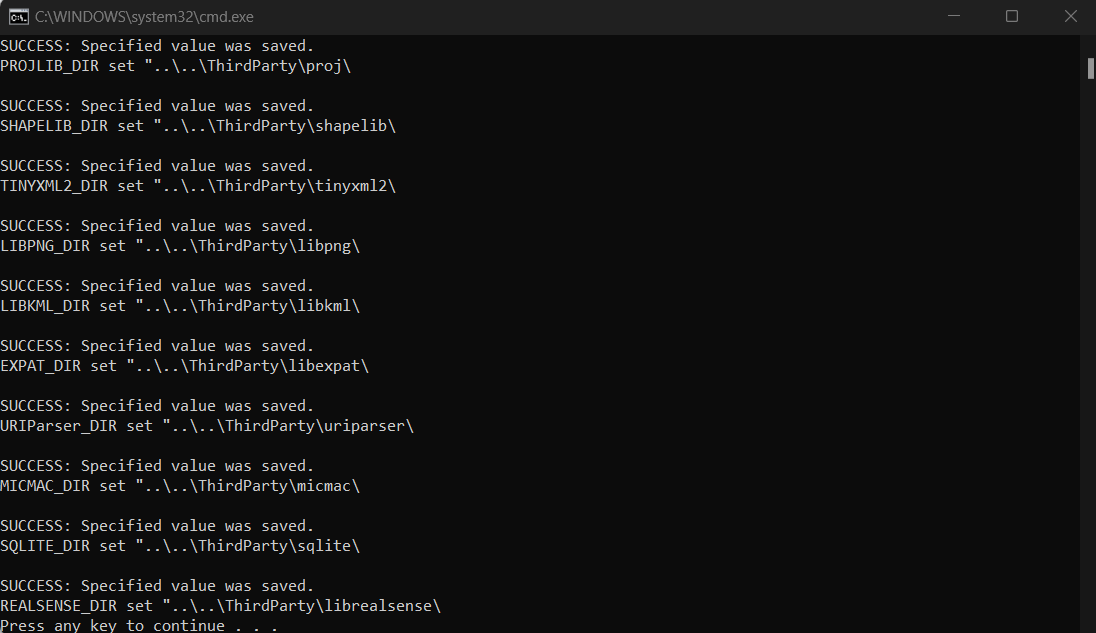
9. In the same folder, you should find “SetupEnvironment.bat”. Run it, and it will initialize the files needed. Press any key to continue and close.
10. Repeat Steps 1-9 for any other NDEVR-related projects. Be sure to pay close attention to the “ReadMe.txt” file, as this file will have different instructions from library to library.
Reassigning Directories
This section will go over assigning or re-assigning directory names. Note that this guide covers the two most common folder paths that need to be resolved, but there may be others. Please contact NDEVR for any persisting issues.
Qt Directory
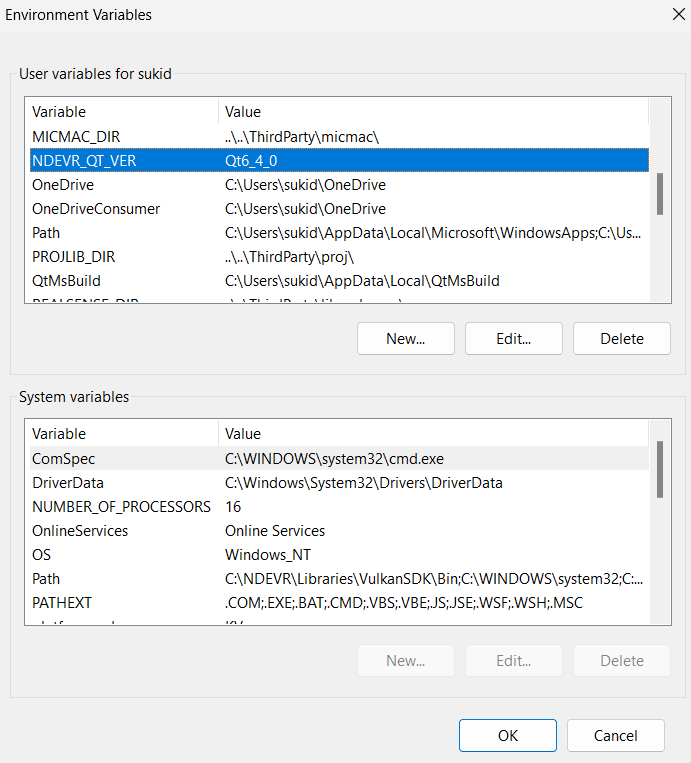
1. Continuing from the “Environment variables” page, scroll up to find “NDEVR_QT_VER” and click “Edit”.
2. Rename “Variable value” NOT with any directory, but with a recognizable name (such as “Qt6_5_4” or another representative title).
3. Open Visual Studio and navigate to Extensions -> Qt VS Tools -> Qt Versions at the top of the application.
4. Go to Qt -> Versions and add a new Qt version with the same name from step 2. Copy that directory into the “path” box and press “OK”.
5. Restart Visual Studio and re-build the project.
Note: Should any errors persist, please contact us at support@ndevr.org.
Congratulations!
Congratulations on finishing the API User Guide! You are now prepared to take on your next project.