If purchasing or creating a 3rd party camera, there are two types of calibrations that should be performed in order to fully utilize the IMU and ensure accurate consistent results.
`1) Gravity/IMU Calibration – This allows us to relate the inertial sensor to gravity
2) Video/IMU Calibration – This allows us to relate the inertial sensor to the cameras
Overtime most IMUs drift based on use , temperature and imperfections in the factory assembly process.Without calibration, imperfections in the camera assembly process may create errors causing us to be unable to reliably place scans into the real world. To correct for this, we offer a simple calibration tool built directly into the software.
To ensure accurate results we recommend re-calibrating the IMU with respect to gravity every few months, or after 20 or more hours of use.
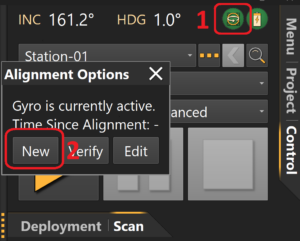
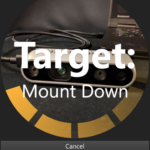
First connect to the scanner and select the Orientation Button at the top of the dialog, then select “New”.
Press the “Start” button to begin Calibration. You will be prompted to move the scanner into various orientations.
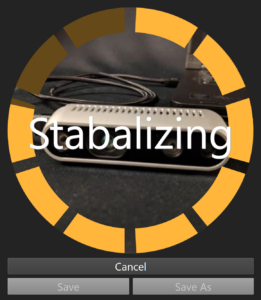
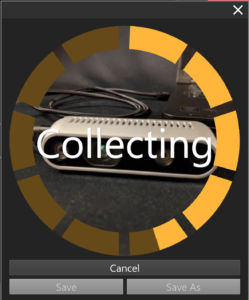
Once the position is detected, the device will automatically stabilize and begin recording readings.
This process will continue through a series of orientations. At each step ensure orientation is accurate.
Video/IMU Calibration
Once the IMU is calibrated to gravity, we can tie the calibrated sensor to the camera, as well as adjust for various noise factors and factory misalignment. This calibration only needs to be performed once over the lifecycle of the device, unless fitted with new lenses or cameras.
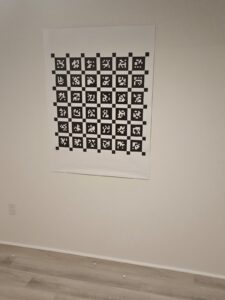
Print the document: It is recommended that the document be print on size A0 paper to ensure a large enough size to allow for motion while still focusing on the image. Large prints can be done at a local print shop or at most major office supply chains.
Once printed, page should be hanged vertically on a plain wall.
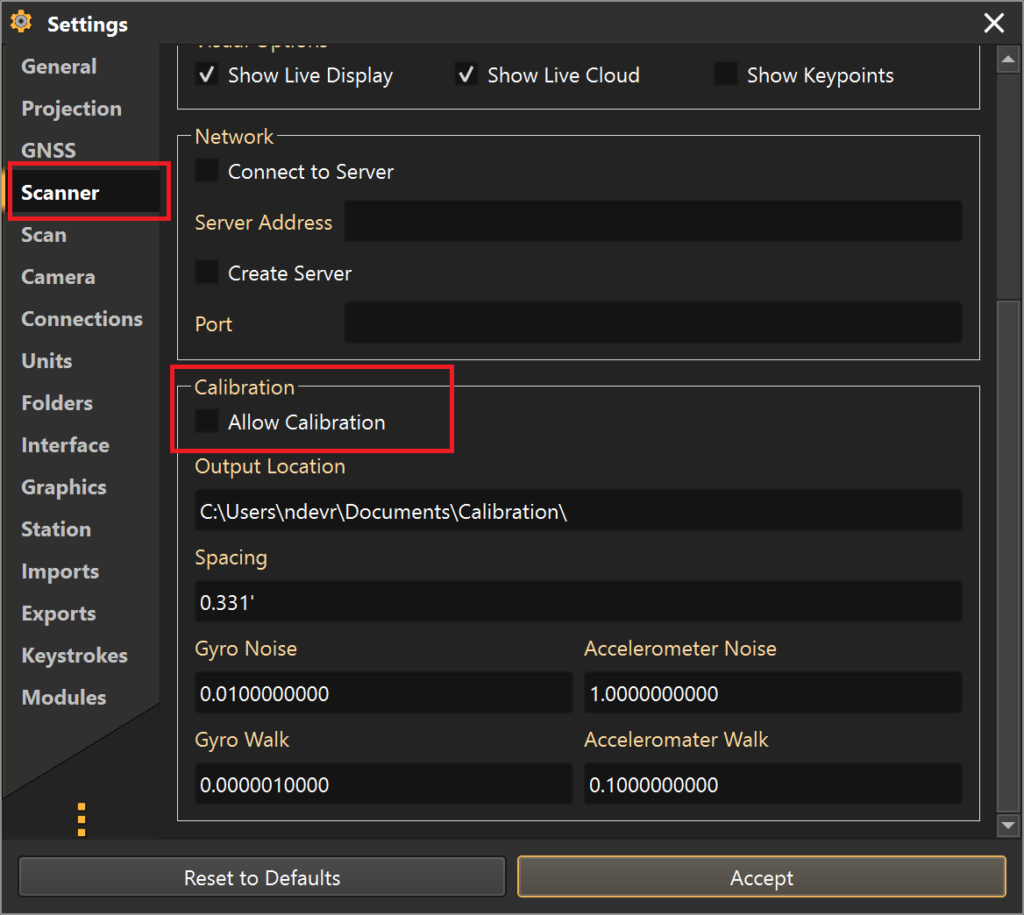
In the software, go to Settings > Scanner > Calibration
Select “Allow Calibration” to toggle on the calibration option.
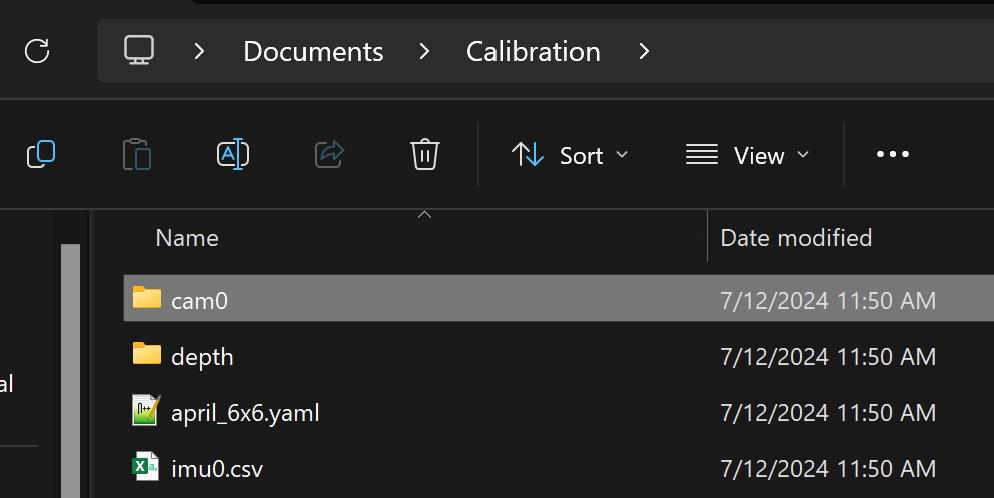
Choose an output location where you want the files to be stored. Note that it is recommended to choose a disk location that is fast, as around 30 images will be saved a second, and slow disk speed could impact the quality of the scan.
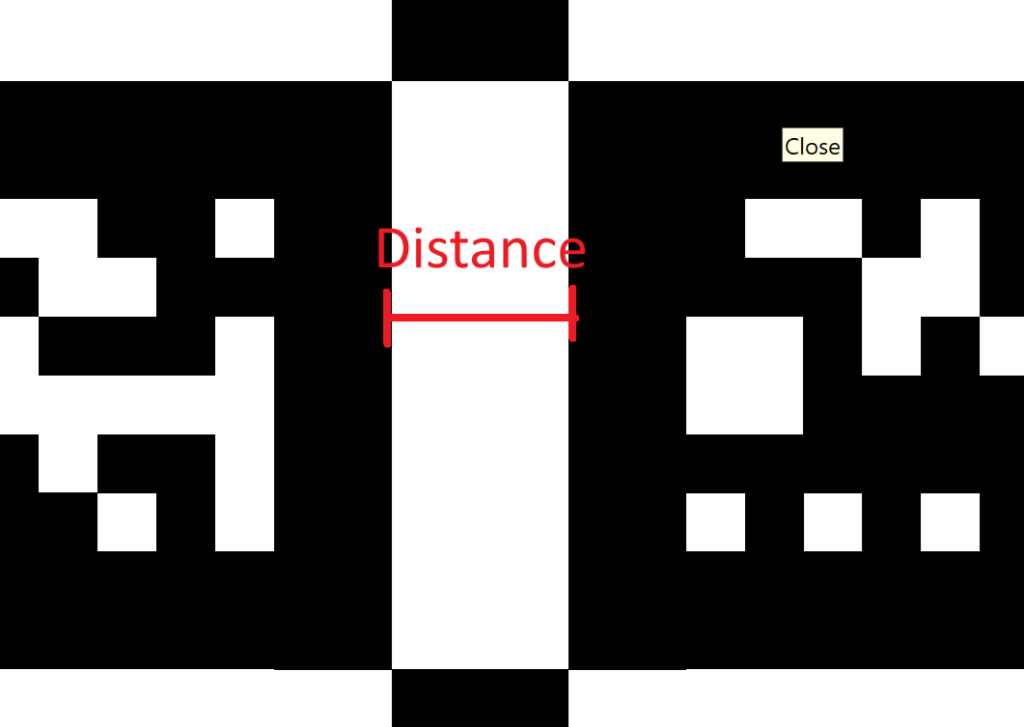
Measure the spacing between each of the April Grid squares and fill in the “Spacing” Box with the spacing.
Leave any other values at their default value, unless otherwise advised.
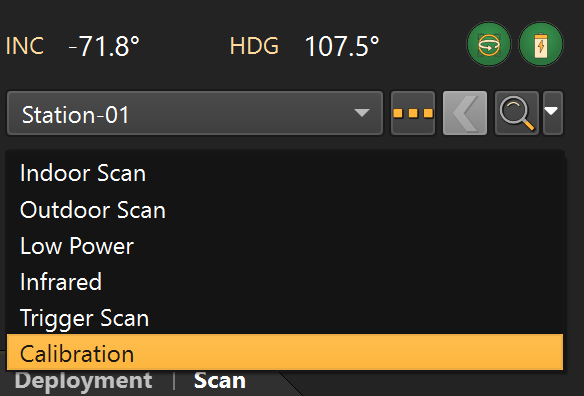
To begin the actual calibration process, go to the Scanner Control tab and select a “Calibration” scan.
As the scan collects data perform sweeps while the camera is facing the calibration paper.
Tips:
try to excite all IMU axes (rotation and translation) by smoothly tilting and rotating the camera as well as moving it in and out.
avoid shocks, especially at the beginning/end when you pick up the sensor
Finally, go to the location where the calibration was saved. Ensure that images are saved to the folder, ZIP up the folder, and email it to calibrations@ndevr.org, or place on flash drive and mail to 21816 SE 280th St. Maple Valley. Allow 1-3 business days for processing the data, once the data is received. A calibration file, as well as some simplified instructions, will be sent.