Before You Begin
Work only from media you own or have permission to copy, and keep the result private. Copyright, private-copy, and anti-circumvention law varies by country. Commercial DVDs and Blu-rays commonly use access controls; owning the disc does not automatically make bypassing those controls lawful everywhere. In the United States, for example, DMCA section 1201 generally prohibits circumvention and the current exemptions are limited to specific uses — there is no blanket personal movie-backup exemption. Check the current U.S. Copyright Office section 1201 guidance or the rules where you live before bypassing access controls. This page explains the technical workflow, not permission to use it.
Start with your copy
Do not download someone else’s rip as a shortcut. Capture the disc or tape in your possession and retain the physical original.
Keep it private
A personal preservation copy is not a distribution license. Do not upload it publicly, trade it, or share it outside the permission you have.
Handle fragile tape first
Prioritize family recordings, unique performances, and deteriorating cassettes. A replaceable movie disc can wait; the only copy of a home video cannot.
Make Two Copies for Two Jobs
Preservation and convenient playback pull in opposite directions. A preservation master stays as close to the source as practical: the original compressed streams from a disc, a direct digital transfer from MiniDV, or a lossless capture from analog tape. A viewing copy trades some data for a much smaller file that plays everywhere. Keep both.
| Source | Preservation master | Practical viewing copy | What not to do |
|---|---|---|---|
| DVD | MKV with the disc’s original MPEG-2 video, audio, chapters, and wanted subtitles | H.264 + AAC in MP4, original 480p/576p dimensions | Do not upscale to 1080p; it adds pixels, not detail |
| Blu-ray | MKV with original AVC/VC-1/HEVC video and selected audio/subtitle tracks | H.264 MP4 for compatibility, or H.265 10-bit for smaller modern-device copies | Do not discard the master after a lossy transcode |
| VHS / analog camcorder | Interlaced 720×480 (NTSC) or 720×576 (PAL) 4:2:2 capture; FFV1 + PCM/FLAC in MKV when practical | Deinterlaced H.264 + AAC in MP4 | Do not deinterlace, denoise, crop, and sharpen the only master |
| MiniDV / Digital8 | Direct DV stream transfer over FireWire, unchanged | H.264 + AAC in MP4 | Do not use analog capture when a direct digital transfer is available |
| Audio cassette | 24-bit/48 kHz WAV or FLAC | FLAC for lossless listening; AAC or MP3 for maximum compatibility | Do not record through a microphone input or normalize clipped audio |
DVD and Blu-ray: Extract First, Compress Second
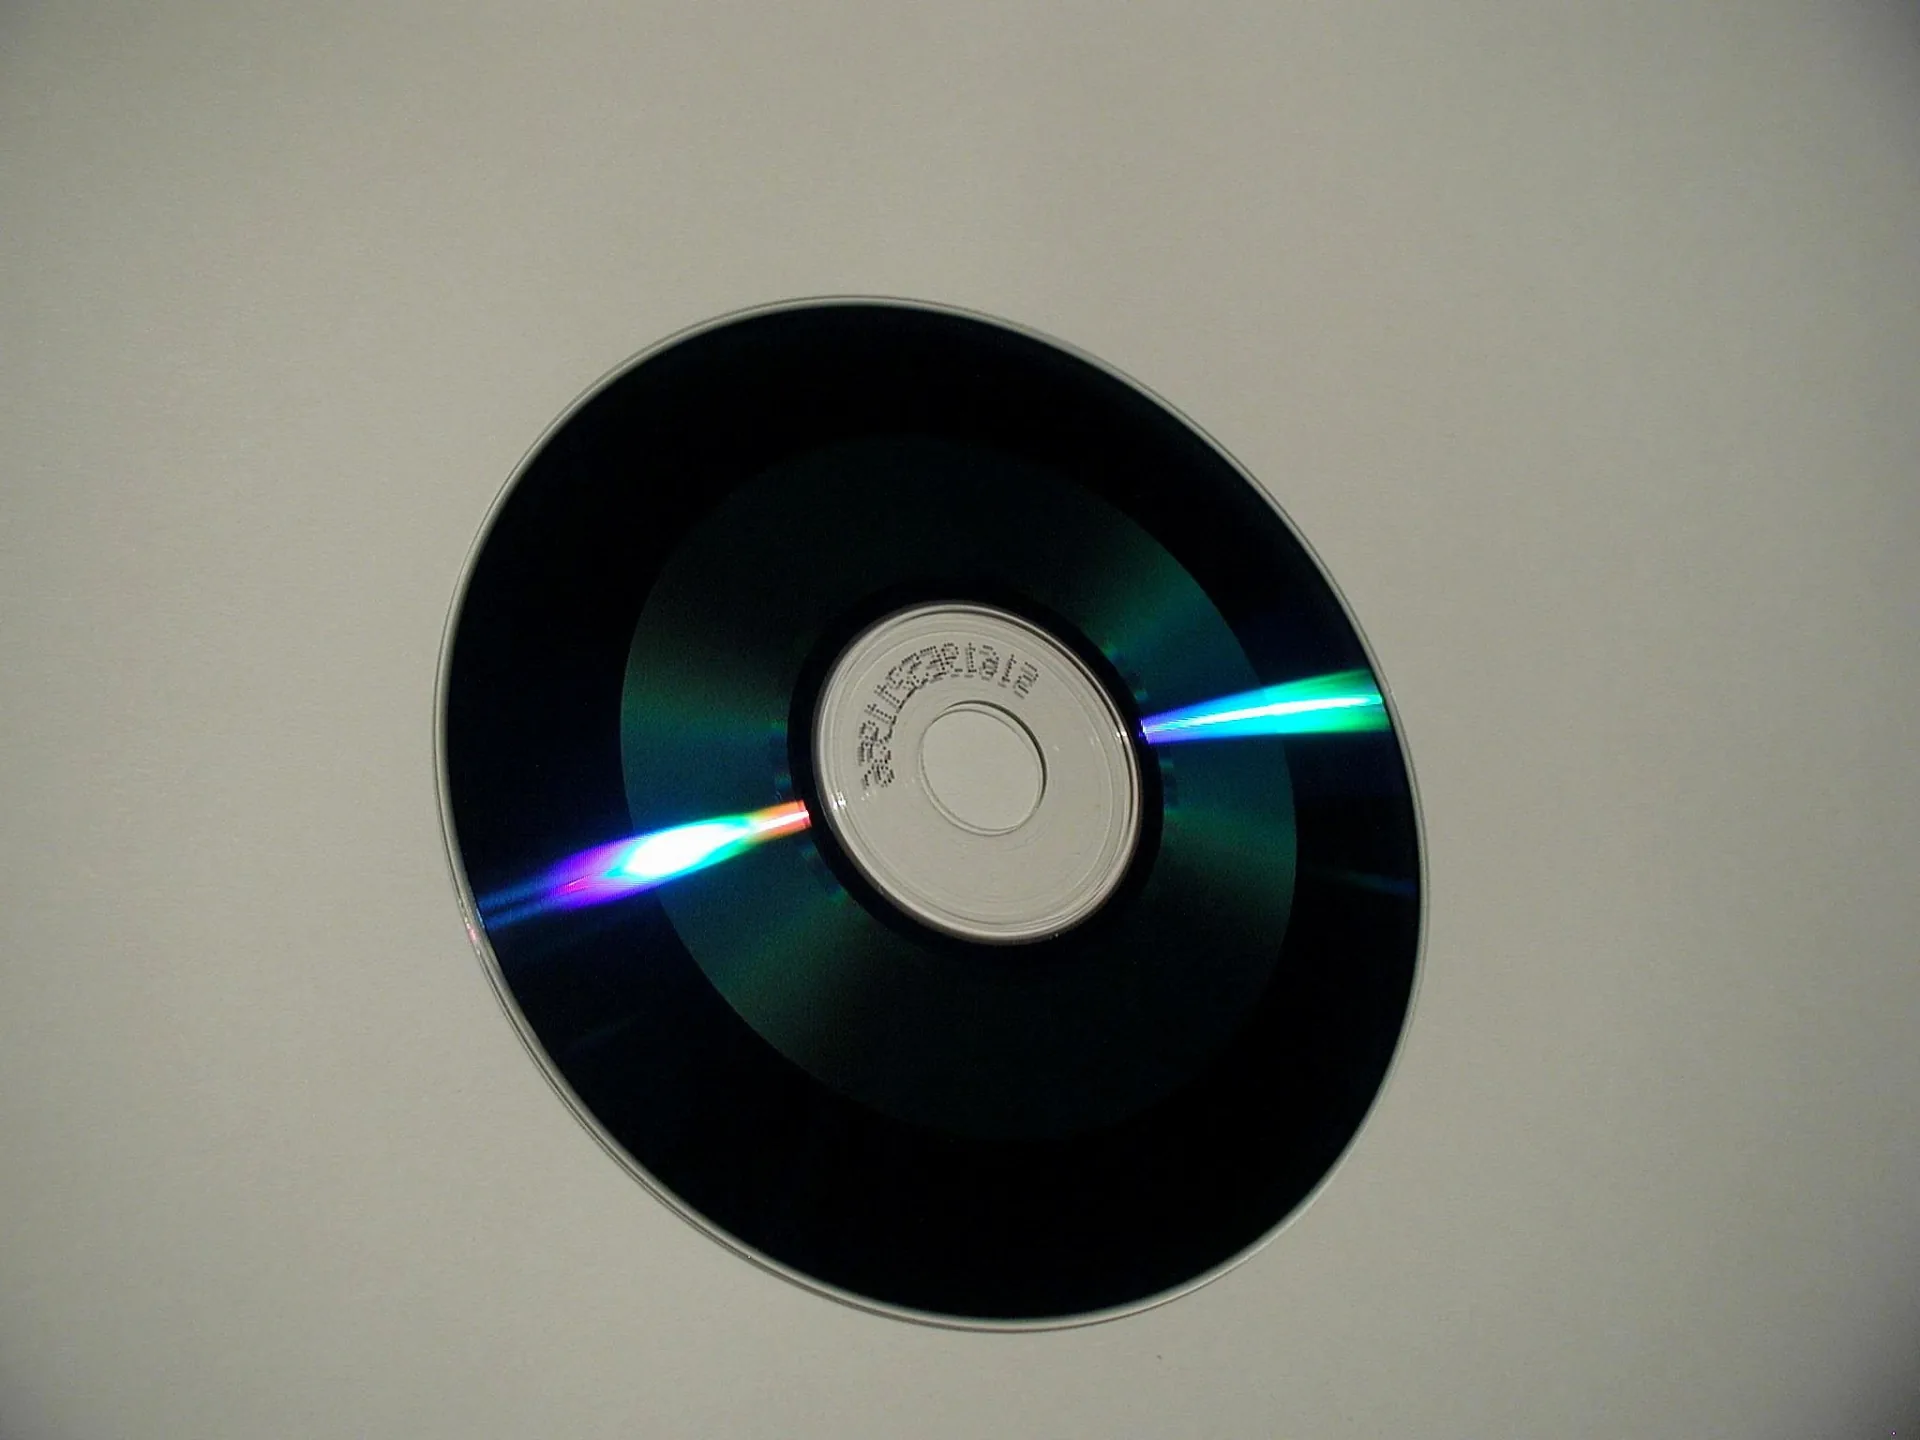
What you need
- A computer optical drive that reads the format. A DVD drive cannot read Blu-ray; a Blu-ray drive normally reads both.
- MakeMKV for a no-recompression MKV extraction where use is permitted. Its official three-step guide covers opening the disc, selecting titles and tracks, and writing the MKV.
- HandBrake for the smaller viewing copy. HandBrake can open unprotected DVD/Blu-ray sources directly, but it does not defeat copy protection.
- Enough temporary storage. A feature-length DVD master is commonly several gigabytes; a Blu-ray master can be tens of gigabytes.
Step by step
- Inspect and clean the disc. Blow away dust and wipe fingerprints radially — from center to edge, not in circles.
- Open the disc in MakeMKV. Let it scan, then expand the title tree. The longest title is often the feature, but episode discs and seamless-branching editions need their names, chapters, and durations checked.
- Choose what belongs in the master. Keep the main video, wanted language tracks, chapters, commentary you care about, and subtitles. Blu-ray PGS and DVD VobSub subtitles survive cleanly in MKV.
- Write and test the MKV. MakeMKV copies the selected streams without recompressing them. Play the beginning, a middle chapter, the ending, each wanted audio track, and at least one subtitle passage.
- Make the viewing copy from the MKV. In HandBrake, start with Fast 1080p30 for broad compatibility, or the matching 480p/576p preset for DVD. A preset is a ceiling: it will not enlarge a lower-resolution source. Use the official preset guide if you are targeting a specific TV or device.
- Check tracks before encoding. Presets do not know which languages or commentaries you want. Review the Audio and Subtitles tabs. MKV can keep bitmap subtitles as selectable tracks; MP4 generally requires Blu-ray PGS or DVD VobSub to be burned into the image. HandBrake’s subtitle guide explains those limits.
- Encode a short chapter first. Check motion, subtitles, surround sound, and dark scenes before committing hours to the whole film.
Keep HDR Blu-ray simple
If a Blu-ray or UHD title is HDR, preserve the original stream in the MKV master. For an HDR viewing copy, use a 10-bit H.265 preset and verify it on the actual display. Converting HDR to ordinary H.264 without deliberate tone mapping can produce flat, gray, or clipped color.
VHS and Camcorder Tapes: Capture the Signal
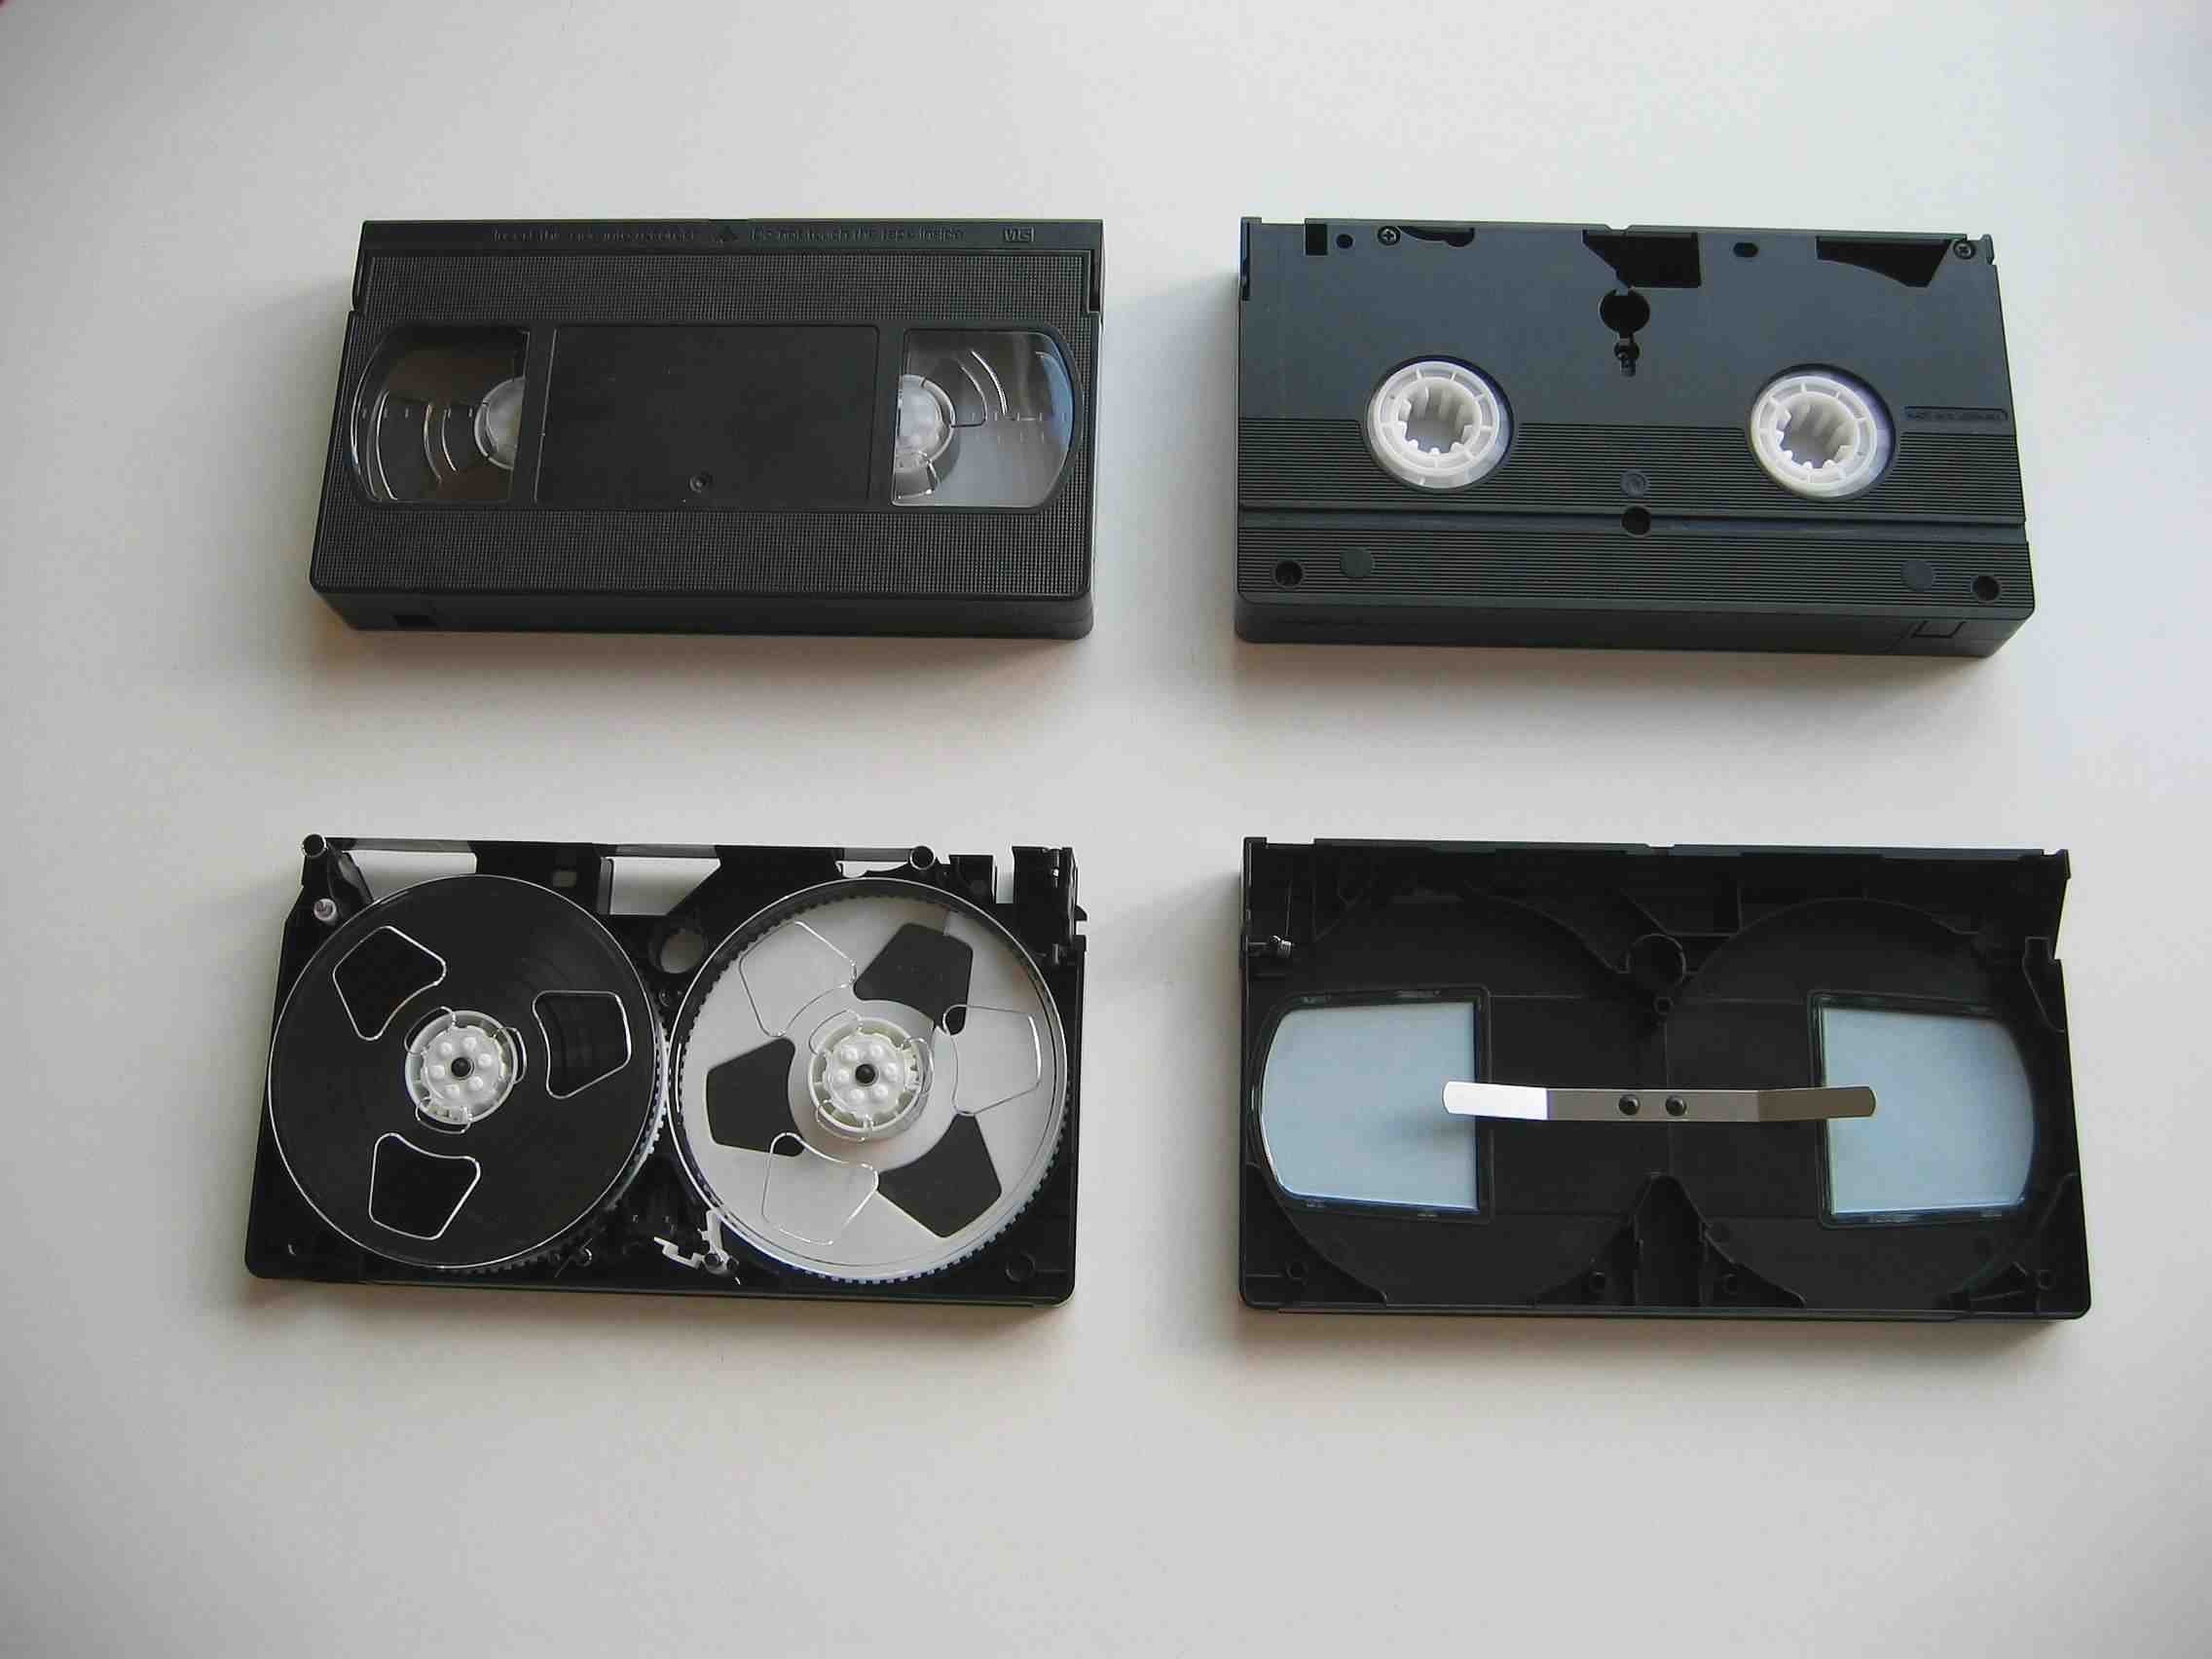
What you need
- The best working deck or original camcorder you can obtain. For VHS, S-Video is preferable to composite when both the deck and capture device support it.
- A USB capture device with the inputs you need. Prefer a standards-compliant UVC device on macOS or Linux, and avoid mystery adapters that silently crop, stretch, or drop fields.
- OBS Studio for a friendly cross-platform capture, or a lossless-capable application such as VirtualDub2 on Windows. OBS’s Video Capture Device guide shows where to select a capture card, resolution, frame rate, format, and audio device.
- Optional but valuable: a deck with a built-in time-base corrector (TBC), or an external frame synchronizer, for unstable tapes that roll, tear, lose color, or break audio sync.
Step by step
- Inspect the cassette before playing. Stop if the shell is cracked, the tape is creased, mold is visible, or the reels resist. Moldy or irreplaceable tapes belong with a specialist; playing one can damage both the recording and the deck.
- Connect video and audio. Deck S-Video or composite out goes to the capture device; red/white RCA carries stereo audio. Connect the device directly to a reliable USB port.
- Match the native standard. Use 720×480 at 29.97 frames/second for NTSC or 720×576 at 25 for PAL, and preserve the complete interlaced signal in the master. Do not stretch 4:3 material to 16:9.
- Capture a five-minute test. In OBS add a Video Capture Device source, select the converter, select its audio, and record to MKV. Watch for dropped frames, clipped audio, a wandering picture, and sound drifting out of sync.
- Capture the whole tape in one pass. Leave a few seconds before and after the program. Log the tape label, side, recording standard, deck, converter, date, and any problems in a text file beside the master.
- Make a viewing copy. Open the master in HandBrake, use an H.264 MP4 preset, and enable Decomb or Bwdif only for the viewing copy. Keep the original frame size and display aspect ratio.
MiniDV and Digital8 are already digital
If the camcorder has IEEE 1394 / FireWire / i.LINK, transfer the DV stream over that connection instead of capturing its analog output. The resulting DV file is the master: it preserves the recorded bits, timecode, native interlacing, and audio without an extra analog conversion.
Audio Cassettes: Record Clean Line-Level Audio
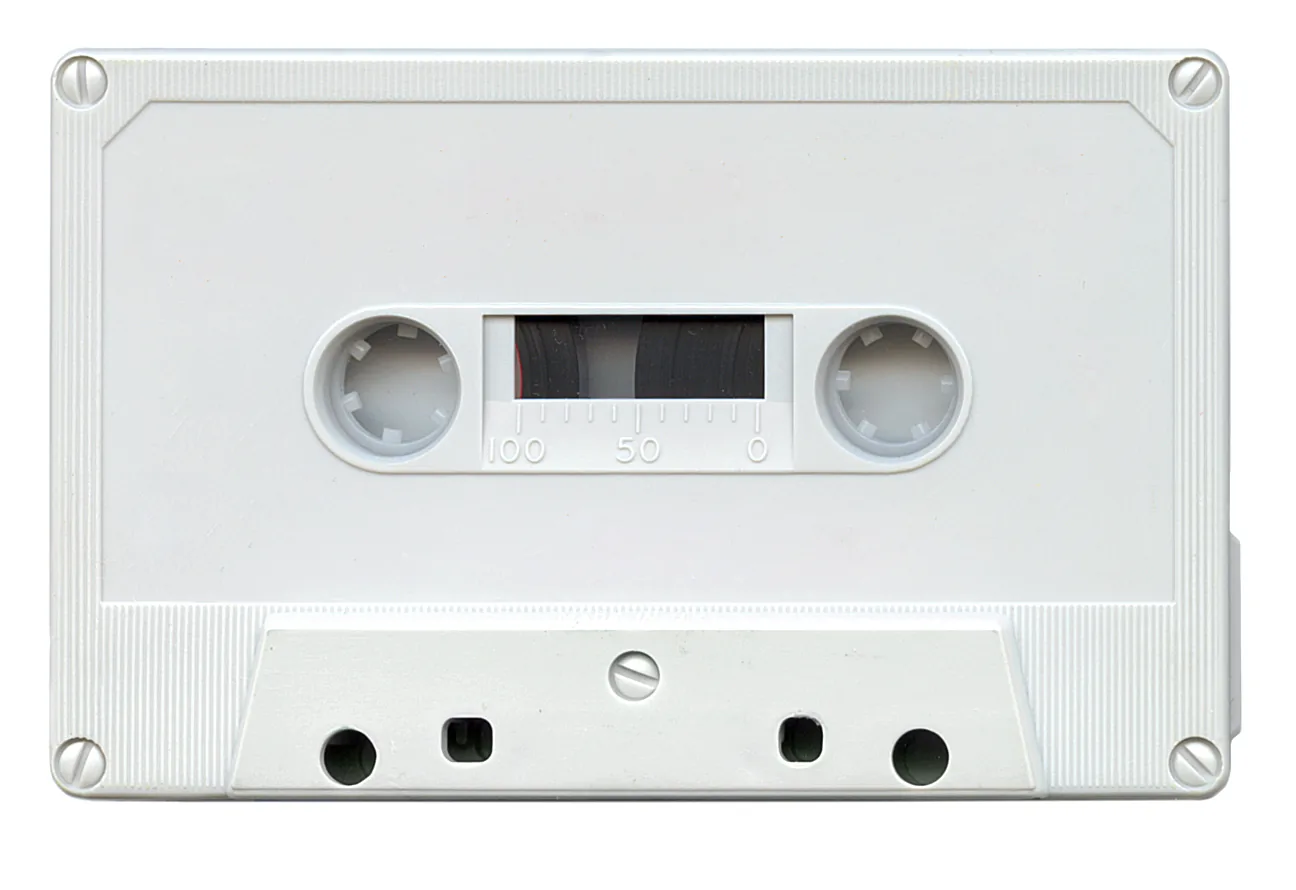
- Prepare the deck. Clean the heads, capstan, and pinch roller according to the deck manual. If the tape was recorded with Dolby B/C/S, enable the matching Dolby mode during playback; the wrong setting changes the tonal balance.
- Connect line out to line in. Use the deck’s RCA line output and a computer line input or USB audio interface. Do not use a microphone input; it adds the wrong gain and can clip badly. Audacity’s equipment connection guide illustrates the cabling.
- Set Audacity to stereo, 24-bit, 48 kHz. Rehearse the loudest passage and adjust the interface so peaks sit around −12 to −6 dBFS. Never let the meters hit 0 dBFS.
- Record each side continuously. Start Audacity, then start the deck. Leave several seconds of room/tape noise at each end; it helps later cleanup and documents the source.
- Save the untouched master first. Export WAV or FLAC before trimming, normalizing, or reducing noise. FLAC is lossless and smaller; WAV is universally understood.
- Work on a duplicate. Trim leaders, split tracks, add metadata, and apply only gentle click/noise reduction. Export FLAC for lossless listening or AAC/MP3 for small portable files.
Choosing Compression and Codecs
A container is the file wrapper (.mkv, .mp4); a codec is how video or audio inside it is compressed (H.264, H.265, AV1, AAC, FLAC). Renaming .mkv to .mp4 changes neither. A lossless remux moves existing streams into another container; a transcode decodes and recompresses them, usually making a smaller file with some quality loss.
H.264 + AAC
Use by default. Broadest playback support in MP4, including web browsers and older TVs. Files are larger than modern codecs at the same apparent quality.
H.265 / HEVC
Use when space matters. Especially effective for 1080p/4K and 10-bit HDR, but slower to encode and less universal on older devices and browsers.
AV1
Use for a modern archive copy. Excellent compression and royalty-free, but software encoding is slow and playback support on older TVs is uneven.
A dependable HandBrake recipe
- Open the preservation master, not an already-compressed viewing copy.
- Select Fast 1080p30 for a simple compatible start, or HQ 1080p30 Surround when surround audio matters. For DVD, a 480p30 or 576p25 preset avoids needless scaling.
- Keep Constant Quality. For H.264/H.265, HandBrake recommends RF 18–22 for 480p/576p and RF 20–24 for 1080p. Lower RF means higher quality and a larger file. See Adjusting quality.
- Use the same frame rate as the source with Peak Framerate unless a specific device requires constant frame rate. Enable deinterlacing only when the source is interlaced.
- Choose AAC stereo for universal playback. Add an AC-3/DTS passthrough track when you want surround and the target device supports it; passthrough copies audio without quality loss.
- Encode one representative chapter and compare it at normal viewing distance. If artifacts bother you, lower RF by 1–2. If the file is unnecessarily large, raise RF by 1–2.
The equivalent FFmpeg starting point
For users comfortable at a terminal, this makes a broadly compatible H.264/AAC MP4 from the first video stream and all audio streams. Adjust the stream mapping if the source contains commentary or unwanted languages:
ffmpeg -i "Preservation Master.mkv" \
  -map 0:v:0 -map 0:a? \
  -c:v libx264 -preset slow -crf 20 \
  -c:a aac -b:a 192k -movflags +faststart \
  "Viewing Copy.mp4"
FFmpeg’s official documentation covers platform-specific capture devices, filters, stream mapping, and available encoders. For interlaced analog video, insert -vf bwdif before the video encoder for the viewing copy; retain the interlaced master.
What OWL can do today
The OWL media library can losslessly repackage compatible H.264/AAC video into a browser-friendly MP4 without reducing quality. True codec conversion and size reduction still belong in HandBrake or FFmpeg before upload. In CSD mode with provider-held recovery disabled, the uploaded media payload remains end-to-end encrypted while service metadata remains visible; SSD streaming and recovery are provider-trust paths.
Verify, Name, and Store the Result
- Watch samples from beginning, middle, and end. For tapes, also check scene changes and the loudest audio. For discs, test chapters, forced subtitles, alternate languages, and surround tracks.
- Keep a checksum. Generate a SHA-256 hash for every preservation master and re-check it after moving drives or restoring a backup.
- Name files plainly. A useful pattern is
Title (Year) - Source - Master.mkvandTitle (Year) - H264.mp4. For home video, use an ISO date plus people/place when known. - Use the 3-2-1 rule. Keep three copies, on two kinds of storage, with one copy off-site. The physical disc or cassette is not one of the digital copies.
- Keep notes beside unique media. Record the source label, capture hardware, software, settings, date, defects, and any processing. Future you will know what was captured and what could be improved.